


The path to Associate Android Developer Certification
I’ve been thrilled to receive my Google-certified Associate Android Developer certification about a month ago.


Background:
I’ve had a life-changing past year. I went from enrolling in the Google Udacity Scholarship Challenge to getting access to the full Android Developer Nanodegree sponsored by Google. From working a part-time, developing a chatbot, to being a full-time employee at BookMyShow.
The Google Udacity scholarship for the Android Developer Nanodegree had a lot of perks and the certification was one of those. A few graduates were given a chance at attempting the certification examination for free (first-come first-serve basis) through vouchers provided by the Google team.
Note: You could even buy the examination at a certain price ($149 at the time of writing this blog post) and schedule it as per your date-time requirements.
The examination is divided into 2 phases —
- Practical Coding test
- Exit Interview
Practical Coding Test:
I had been going through the Google Developers Codelabs everyday for a week before the examination and was a bit worried about the time being just 8 hours. I followed the official study guide for the codelabs and syllabus.
The exam is provided through the Trueability platform. Initially, you’ll have to upload identity proofs (also includes a selfie, wow!) and wait for the approval. Once approved, the take exam button is enabled and after clicking on the button, you’ll have to download a plugin for Android Studio.
Make sure you sign in to Android Studio with the same email which you’re using to attempt the examination. Then download the Associate Android Developer Certification (AADC) plugin. Through this plugin, you’ll be able to take the exam and view the tasks that you need to complete. It will also add a countdown timer to your Android Studio which is easily visible in the toolbar.
To anyone who’s wondering, you can “Google” things online. The exam encourages an environment to simulate a developer’s day-to-day activities. But you won’t be able to open another project in Android Studio until you submit the exam (not surprising).
Timing: 8 hours. The exam will submit automatically after 8 hours if you’re not aware of remaining time or have lost track. And believe me guys, 8 hours is a lot of time. Take your time to read through the codebase and don’t mindlessly start implementing the given tasks. Once you understand, it’ll be a lot easier to do things quickly rather than going back-and-forth right from the start.
Content: is being updated regularly by the examination guys, so make sure you’re at least well-versed with the basics of all the new APIs that have been introduced recently. The above “Study Guide” link will take care of the complete syllabus. I’d suggest going through all the “Codelabs” for a good grip on the contents so that you’re not Googling for the primitive things.
Note: Do not mess up any previous files and make changes only where you think is really needed.
Coding: You’ll be importing the source code project which you need to work upon. You’ll be able to see the tasks through the plugin you installed earlier.
Please do not skip any of the topics from the “Study Guide”. Everything will be used somewhere or the other. You’ll have to —
- Write new code from scratch
- Add functionality to already existing code
- Debug existing code and write tests for them — make sure all the test are running
Once you’re done with coding, use the countdown timer option to click on the “Submit” button to submit the project. You won’t have to upload anything explicitly. The plugin will do that for you.
Before you submit, make sure you go through the tasks list once again and check if everything is working as expected. FYI: Check if the navigation is correct between screens and that notifications & tests are working.
After you submit the code for review, you’ll get back the results within a 45-day window. You’ll also get an option to give the “Exit Interview” at the spot. You could take a 10-15 minute break and attempt it since whatever you’ve implemented recently is still fresh. If you’re really tired, you could do it the next day too. I attempted it 2 days later.
Exit Interview
This is an automated interview system, where you’re asked 5 questions related to the practical that you’ve performed and you’ve to record the answers and the video will be uploaded and sent. Just make sure that the recording has started before you start to speak. You’ll get around 10 seconds to think before the recording starts and 2 minutes to answer the question. Once you’re done you’ll receive a confirmation email if your interview was submitted successfully.
Now, it’s time to sit back, relax and wait for the results!
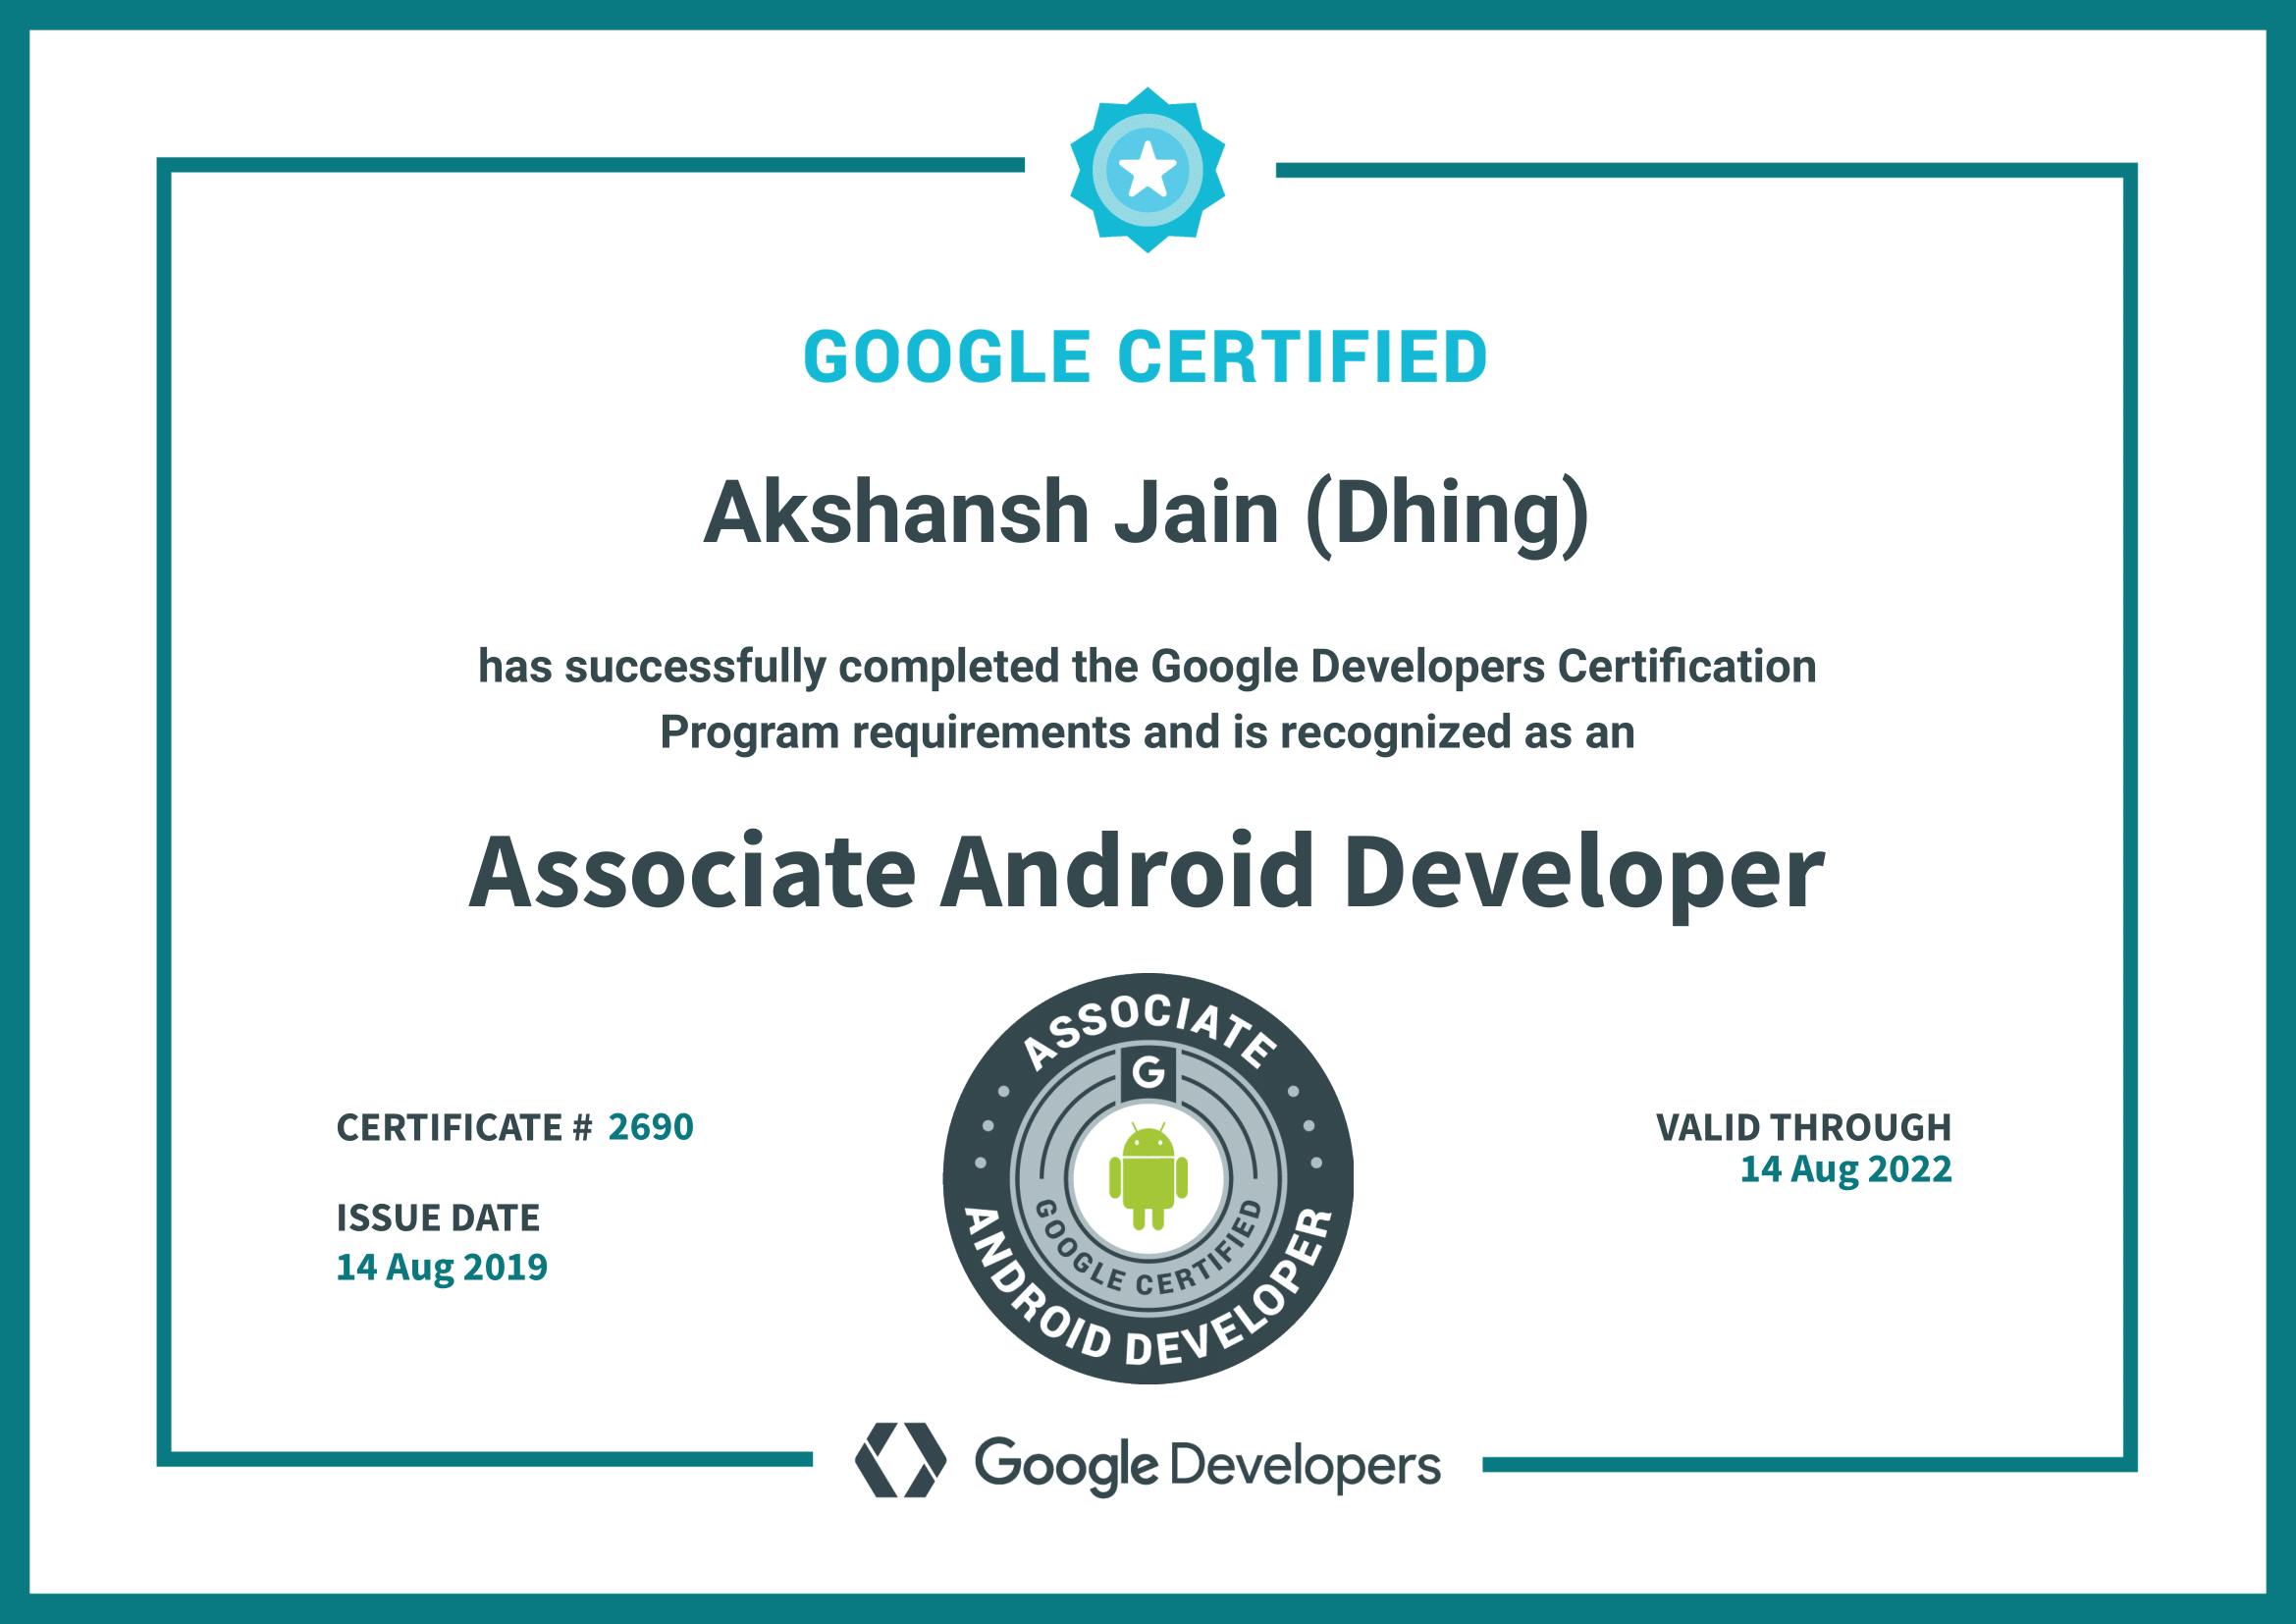
I received the email on 13th August, first thing in the morning. What a news to wake-up to! And I finally received the certificate and the badge on August 16th, 2019.
The Associate Android Developer certification.
Wrap Up:
After I posted this on LinkedIn and Instagram, I received a lot of requests from people asking me to help them with the new examination pattern and how to prepare for it, hence this blog post! If you have any queries, write (or tweet) to me, and I’ll respond as soon as possible!